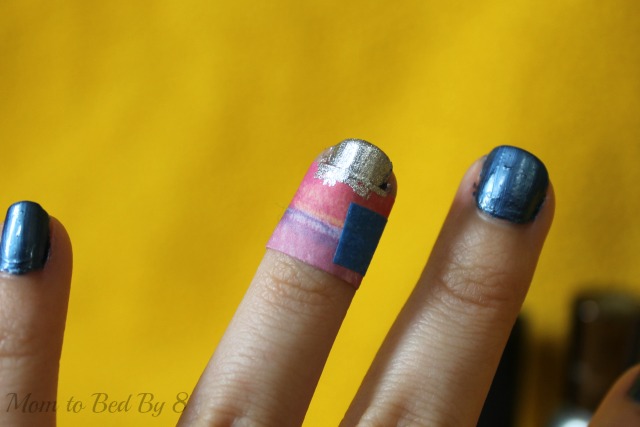
I’ve been very into doing a single nail nice and artsy while leaving the others plain lately. It’s like my way of saying, “Look! I snuck away from the kids for a while and put in effort!” without giving them enough time alone to destroy anything. Get into something maybe, but no full-on destruction as long as there’s a large tub of Legos nearby.
For the upcoming 4th of July parties, I threw together a small flag design that uses no special tools. It’s simple enough for even those who are just starting to venture into nail art to master.
You Will Need:
- -Red, White, & Blue nail polish (Yes, I know I chose silver instead of white. . . because glitter, ladies. Glitter.)
- -Optional, but suggested: A top coat of your choice
- -Scrap Paper with a straight edge
- -A Small Piece of Tape
Paint each nail blue. I’m using Rimmel’s “Denim Dreams”. Let it dry completely before doing the next part. If it is still sticky or soft at all, it will tear off with the paper and need to be touched up afterward.
Wrap your scrap paper around your nail and cover up as much of the nail that you want to remain blue. The more room you leave here, the more room you have to add stars later. Feel free to experiment with making the nail half-and-half or using the striped area as a french tip sort of design.
Starting at the paper, use your white (or silver) to cover the exposed section of the nail. Let this dry enough to no longer be tacky.
Add your red stripes to the silver section, continuing to use the paper to keep your separating line clean. Peel your paper off slowly and let everything dry. If there’s any lifting of the blue paint from not letting it dry long enough or messes, wait for what is already on the nail to dry before you touch up either section. You can put your “stars” on the blue section by very lightly touching your brush to the nail or using the end of a toothpick.
You can life-proof your nails with a good topcoat to avoid having chipping while you’re enjoying the fireworks. Enjoy your beautiful Americana Nails!


